Climbing Mount Fuji
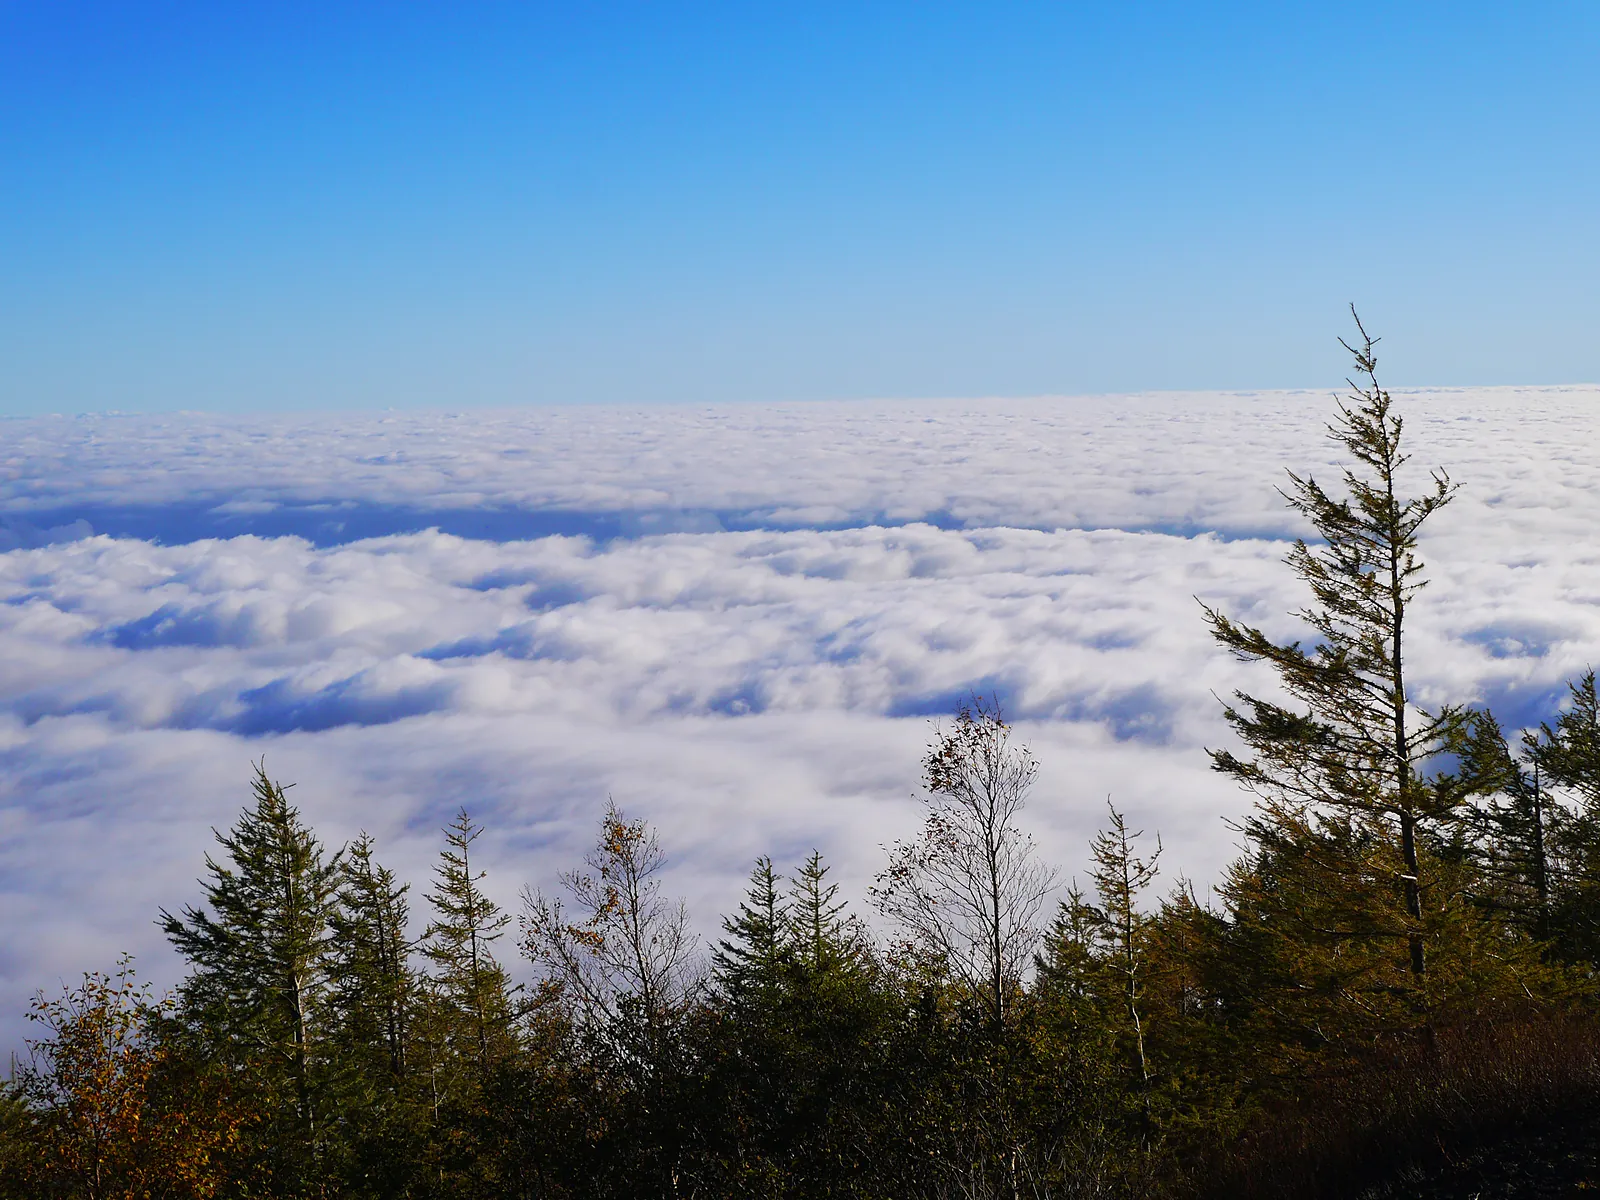
Climbing Mount Fuji takes you into a very different landscape from the familiar views of its snow covered peak. The summer trails cross bare volcanic slopes, the air grows thinner as you climb, and a night on the mountain can finish with sunrise above the clouds. At 3,776 metres, reaching Japan’s highest point is an experience you need to plan for, rather than squeeze into a spare afternoon.
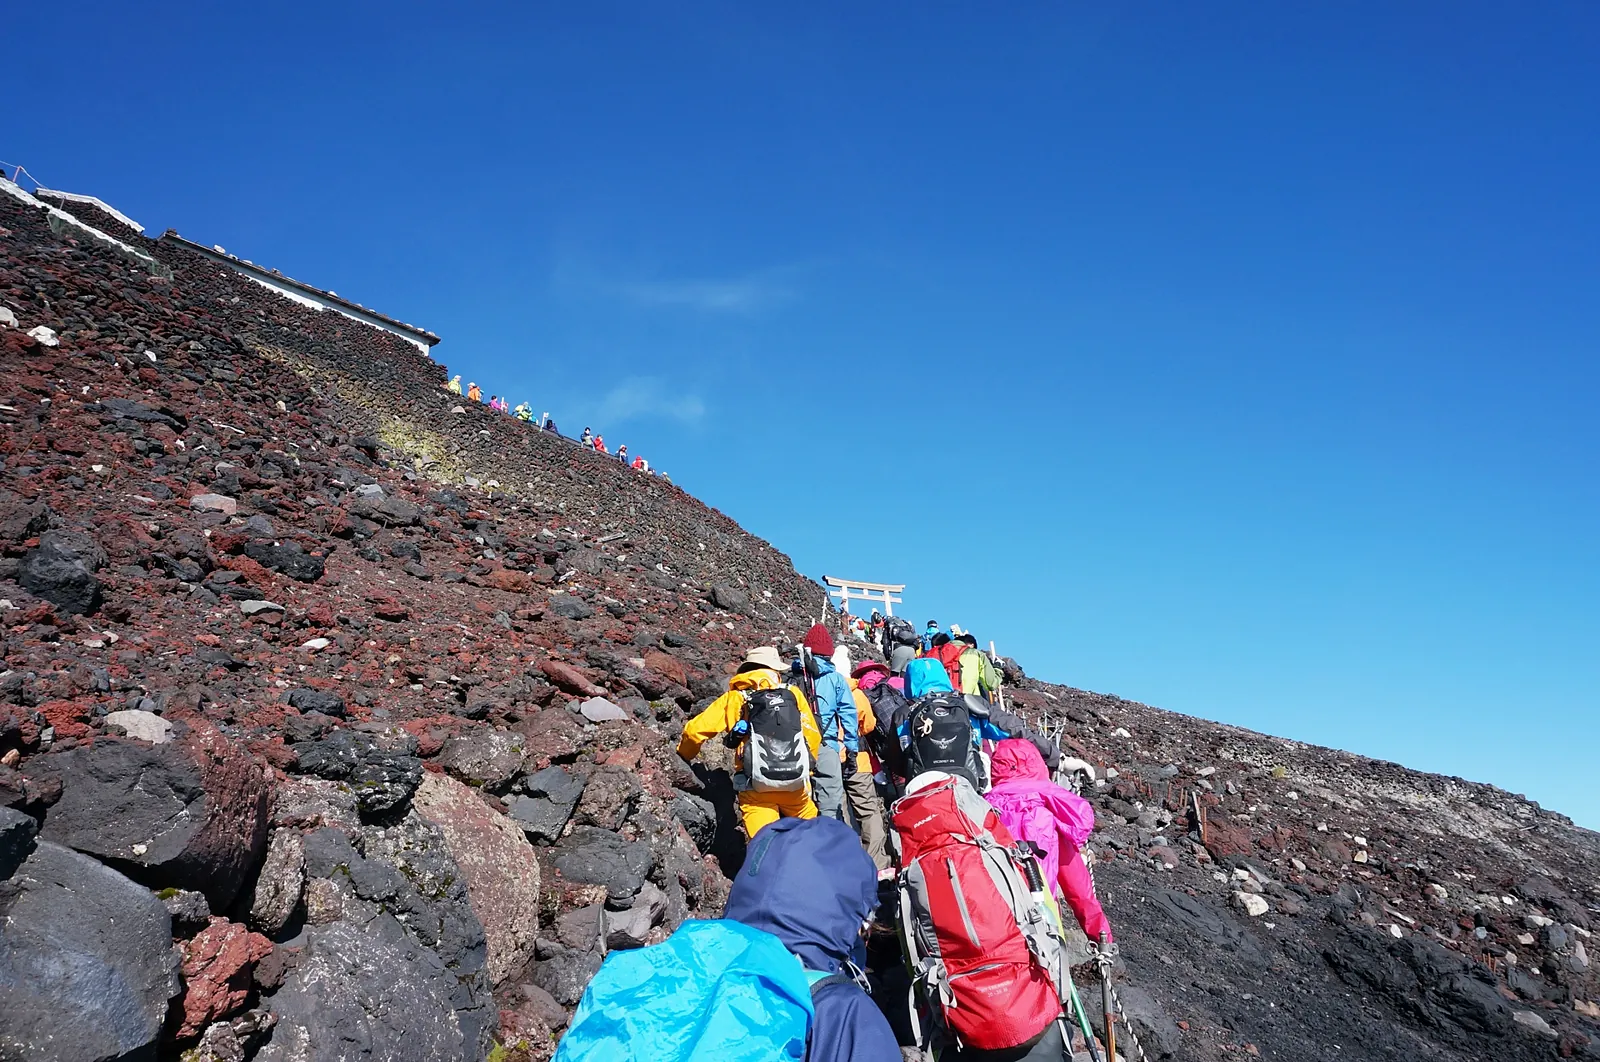
The usual summer routes do not require rope climbing, but that does not make them easy. Expect hours on rough ground, a substantial descent and weather that can feel nothing like summer at the foot of the mountain. A good plan gives as much attention to resting, staying warm and getting back down as it does to reaching the top.
For a first visit, start by considering a climb split over two days with a booked mountain hut. This gives the experience its own place in your itinerary, with time to arrive, climb steadily and rest before deciding whether to continue towards the summit. Leave the following evening light, as tired legs and a long journey back are enough to deal with.
The four trails
Choose a trail around its walking time, terrain and hut options. The approximate times below exclude breaks and overnight stops. Allow extra time for your pace and conditions. Compare the official route descriptions and maps.
Yoshida Trail
Starting at Fuji Subaru Line 5th Station, Yoshida has the greatest concentration of mountain huts and services on the trail. Its familiar access from the Kawaguchiko side and extra support make it the usual first route considered by visitors climbing Fuji for the first time.
The ascent crosses increasingly rocky and exposed volcanic ground. Much of the descent uses a separate loose gravel path, and the upper trail is shared with Subashiri, so check the signs carefully where the routes divide on the way down.
Best for: First time Fuji climbers who value huts, services and easy access.
Watch for: The busiest trail, with possible queues near the summit and important descent junctions.
Fujinomiya Trail
Fujinomiya begins at the highest of the four trailheads and follows the shortest route to the summit. It climbs steeply over rocky ground, with huts spaced along the way, and reaches the crater rim closer to Kengamine, the mountain’s true highest point, than the other main routes.
Climbers ascend and descend on the same narrow trail, so passing traffic can slow progress. The shorter distance is useful, but the gradient and sustained rough footing mean it should not be mistaken for an easy option.
Best for: Fit hikers who prefer the shortest route and want easier access to Kengamine.
Watch for: Steep rocky sections and two way traffic on the same path.
Subashiri Trail
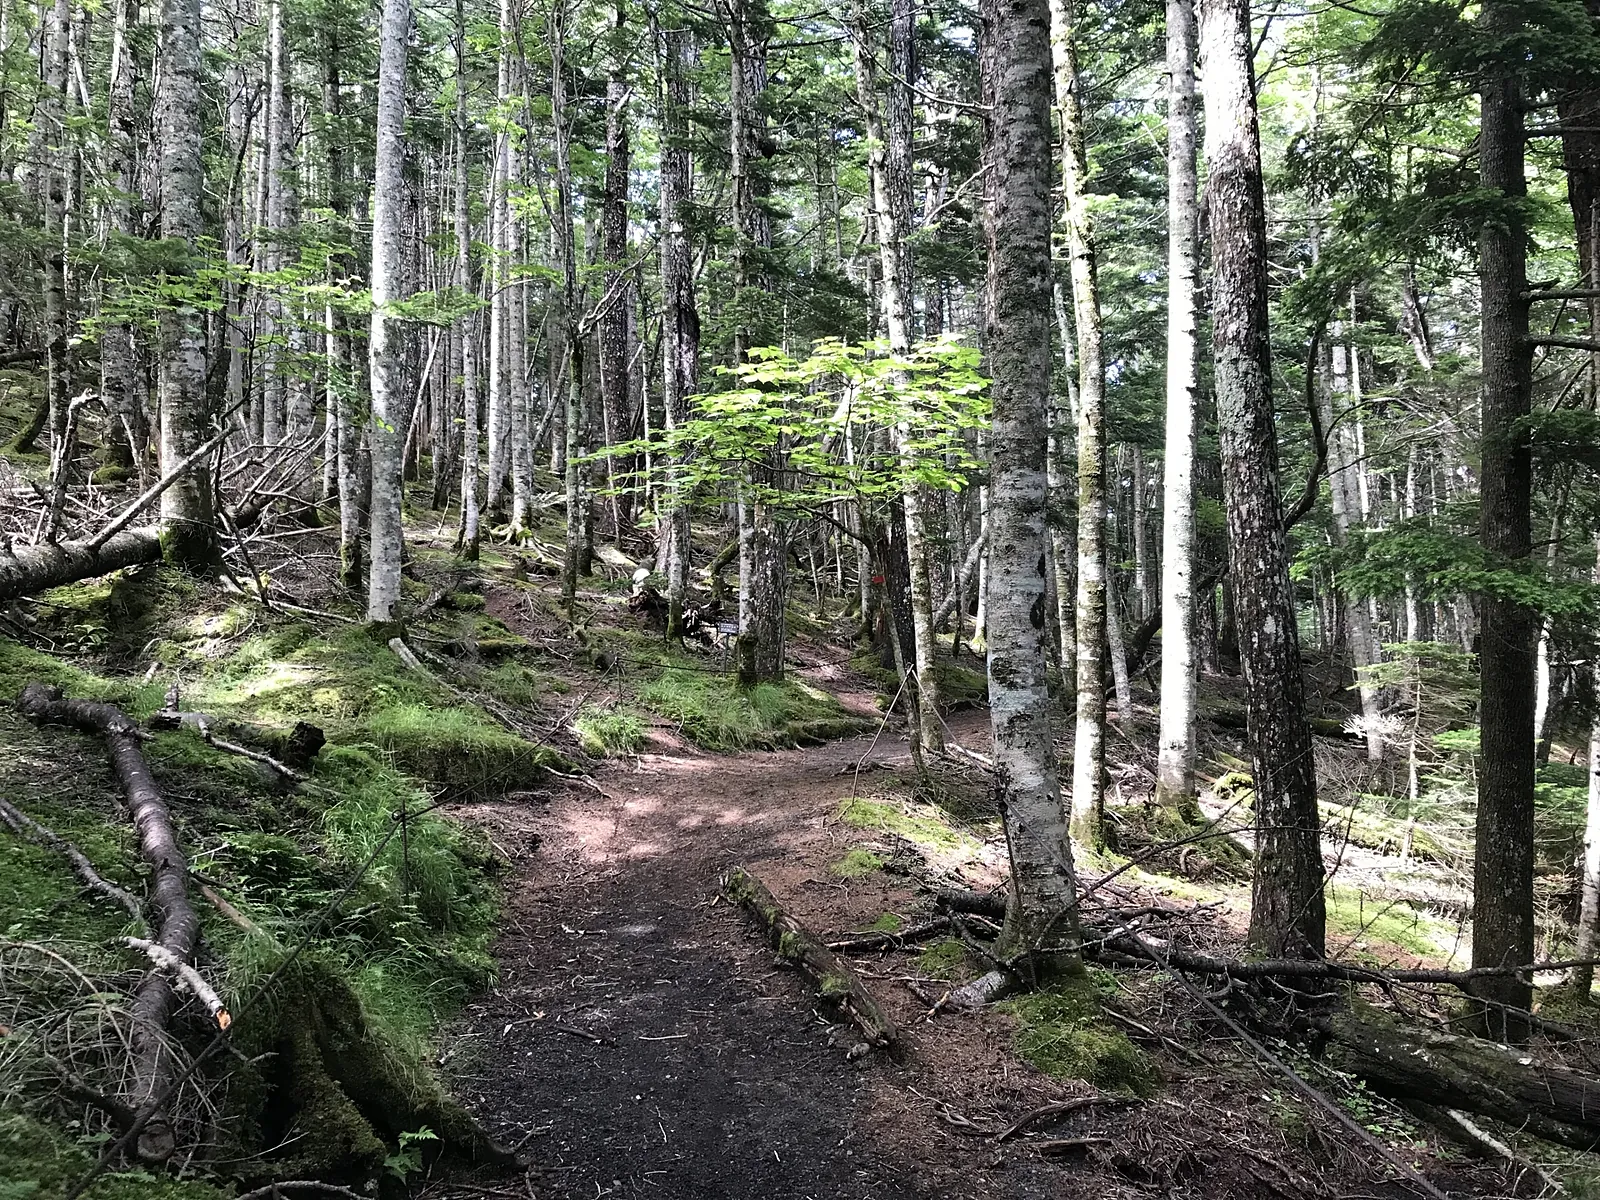
Subashiri starts lower than Yoshida and Fujinomiya, with the early climb passing through forest before emerging onto open volcanic slopes. The shade and quieter lower section give it a noticeably different beginning from Fuji’s more exposed routes.
Higher up, Subashiri joins the Yoshida Trail and becomes much busier. The descent includes long sandy and gravelly sections before the routes separate again. Missing that junction can leave you at the wrong 5th Station.
Best for: Climbers who want a greener, less crowded start and do not mind a longer ascent.
Watch for: The Yoshida junction on descent and the sudden increase in crowds above it.
Gotemba Trail
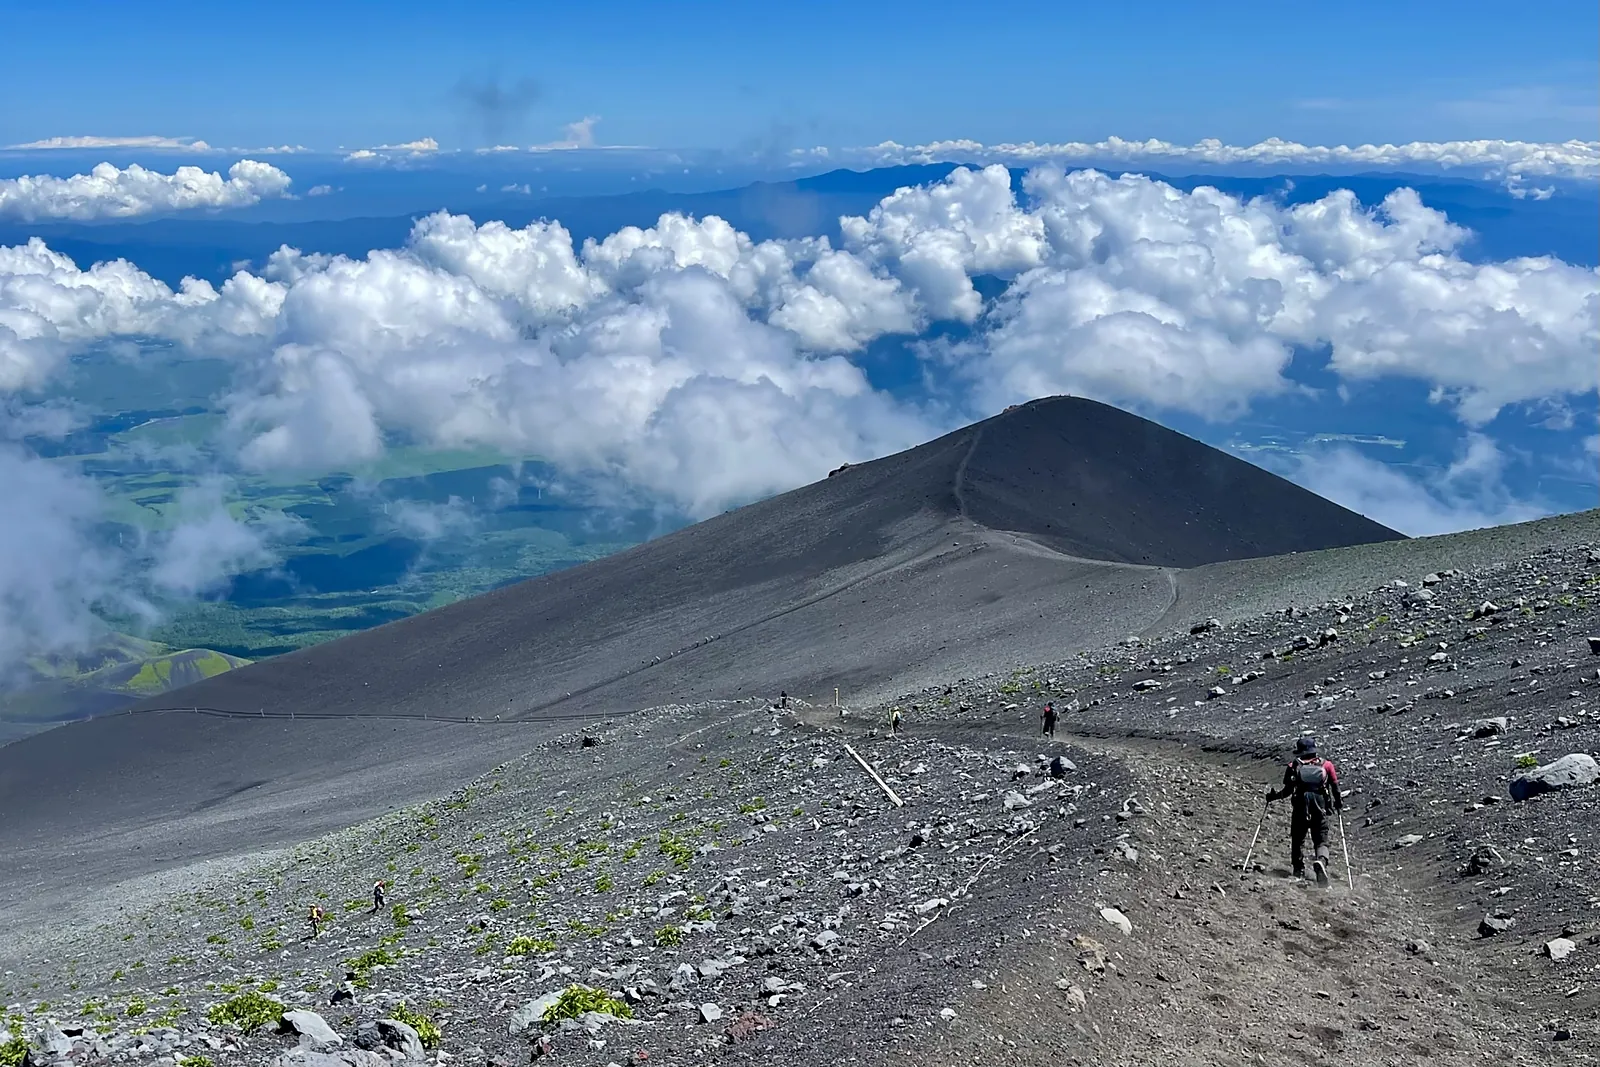
Gotemba starts far lower than the other trails and covers the greatest distance, with a long ascent across broad, exposed volcanic terrain. There are fewer huts and services, so carrying enough water and food, and allowing a large time margin, matters more here.
Its defining feature is the long Osunabashiri descent, where loose volcanic gravel allows quick downhill progress. The open landscape and lower visitor numbers can feel rewarding, but the extra climbing and limited shelter make this the greatest commitment of the four.
Best for: Experienced, well prepared hikers seeking space and a longer mountain day.
Watch for: Few huts, long exposed sections and considerably more ascent from the lowest trailhead.
What to know
Book the trail and the hut separately
The hiking fee and a mountain hut reservation cover different things. For the 2026 season, the published hiking fee was ¥4,000 per person. Yoshida and the three Shizuoka trails have their own entry procedures, so use the system for the route you actually intend to climb. Reserve a hut separately and keep both confirmations accessible.
For Yoshida, advance passage reservations are optional, but the daily limit and entry restrictions still apply. Do not treat that as a reason to arrive without a plan. Check the Yoshida requirements or the Shizuoka requirements before booking transport. Rules and fees for a future season may change.
Choose a hut that fits your pace
The highest available hut is not automatically the best choice. Think about how much climbing you can comfortably complete on the first day and what that leaves for the next morning. Before paying, check the arrival deadline, sleeping arrangements, meal options and cancellation terms with the hut itself. These details vary between properties.
Budget for the hut, return transport and purchases on the mountain as well as the hiking fee. Check whether meals are included, and carry cash for facilities and supplies. A hotel search around Kawaguchiko or Gotemba will not reserve a mountain hut. Arrange that directly with your chosen hut or through a suitable reservation service.
Plan the journey back before setting off
Check the exact 5th station on your ticket. The four trails do not share one trailhead. For Yoshida, look at services to Fuji Subaru Line 5th Station. Direct Shinjuku services and connections via Kawaguchiko depend on the operating period. Use the bus operator’s current route information rather than assuming a summer timetable applies throughout your trip.
Work backwards from your return connection and leave a generous buffer for the descent. An early summit arrival does not mean the hard part is over. Avoid booking a flight or an inflexible long distance connection immediately after the climb.
Prepare for cold, rough ground and altitude
Bring sturdy hiking footwear, waterproof jacket and trousers, warm layers, gloves, a hat and a headlamp with spare batteries. Add water, food, sun protection, a charged phone and a way to carry your rubbish back down. Check everything before leaving. This is a poor place to discover that your shoes are failing or your torch is flat. Use the official equipment guide to complete your packing list.
Take time to adjust at the trailhead and climb at a steady pace. Headache, dizziness or nausea can be signs of altitude sickness. Stop ascending, tell your companions and seek help. Descend if symptoms worsen or are severe. A hut stay does not guarantee that you will avoid altitude sickness, and reaching the summit should never take priority over getting down safely. Read the official health advice before the trip.
When to go
Current status: the 2026 climbing season has ended. This guide was checked on 14 September 2026. For a future trip, confirm the published dates for your route, hut and transport before committing. The summit trails close outside the official season. Check the latest official notices.
July: check your route’s opening date. The trails do not necessarily open together. Conditions can also delay access, so a date on the calendar alone is not enough. Confirm that the route and hut you want are operating.
August: organise the climb before the rest of the trip. Start with your hut and transport options, particularly if your dates are fixed. Being flexible about the day gives you more room to build a manageable itinerary.
Early September: check individual closing dates. A trail still being open does not mean every hut or facility is operating. Check the official facility operating periods alongside the mountain’s season dates.
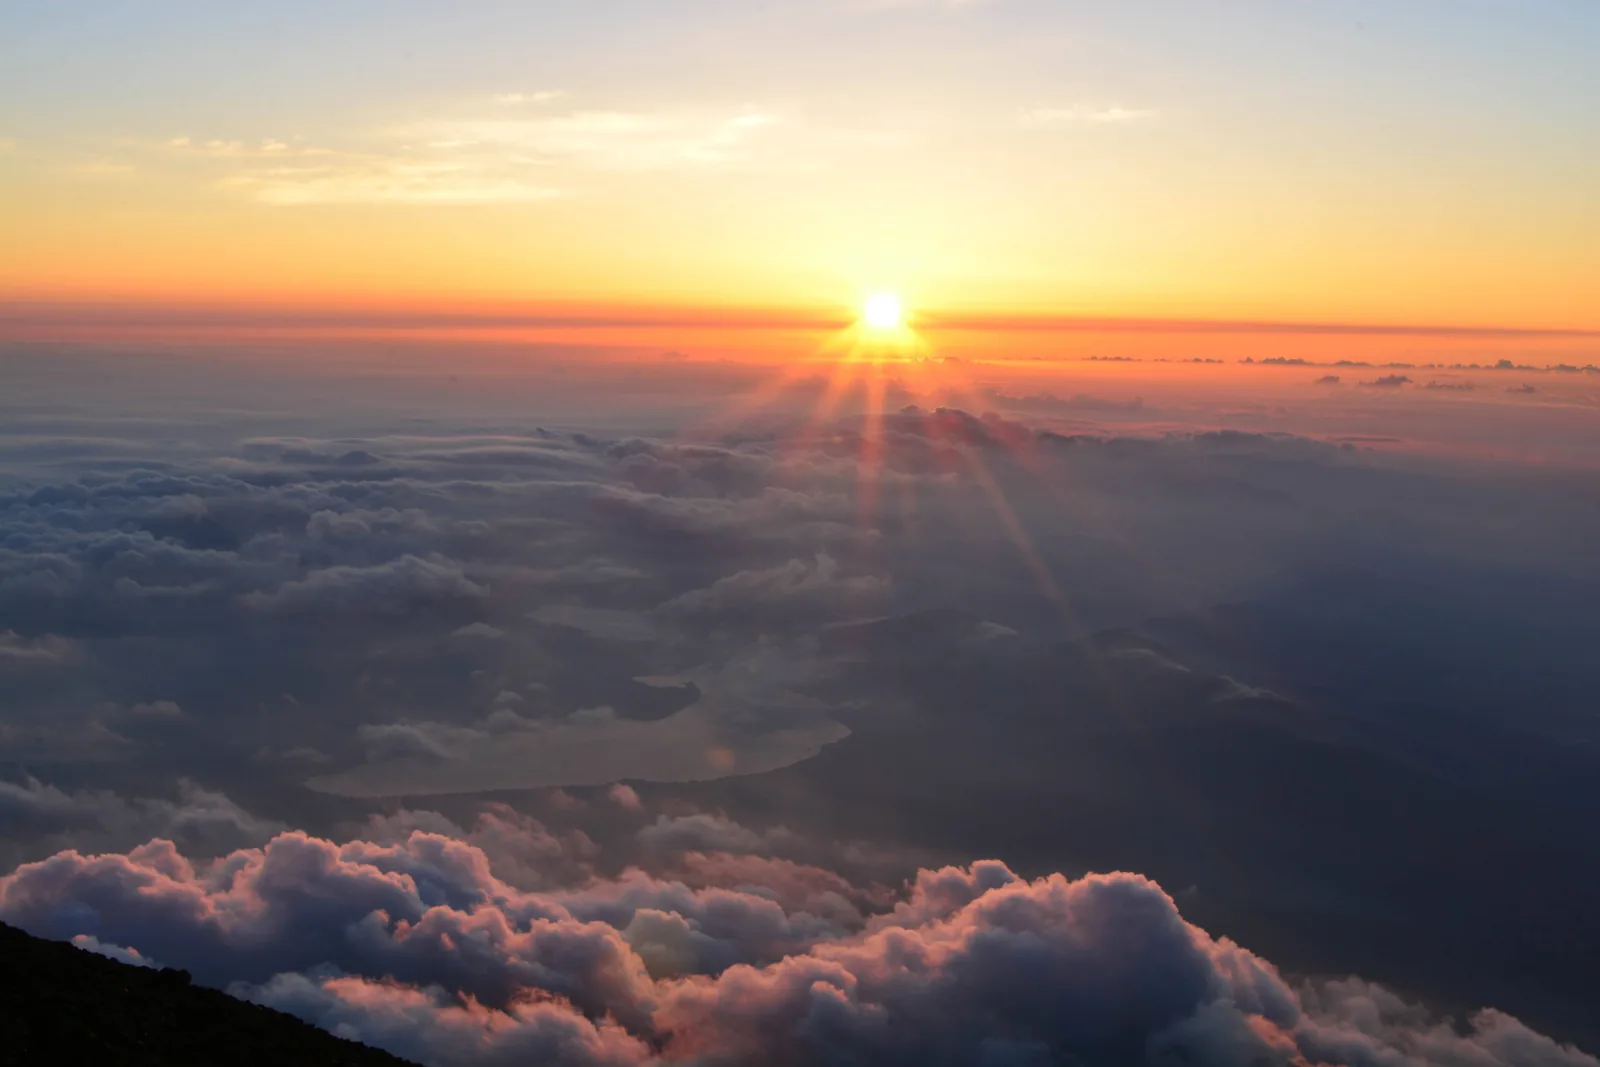
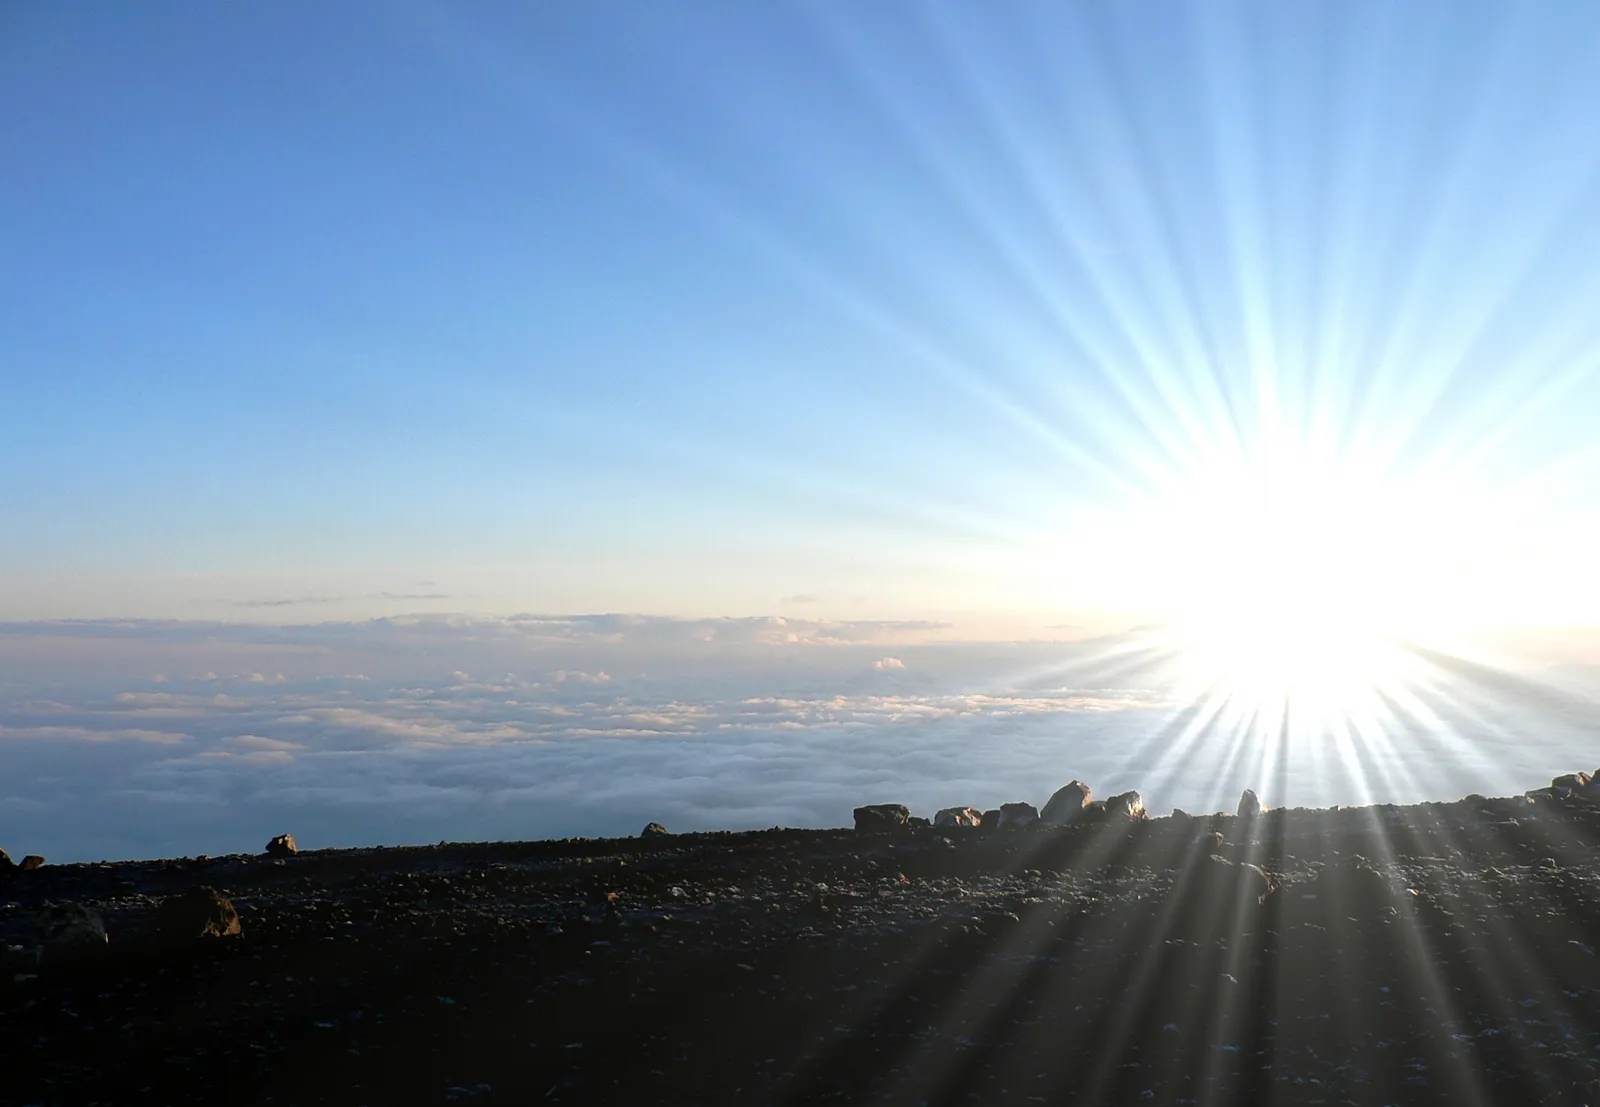
Sunrise: leave room to change the plan. The goraiko is a memorable reason to climb, but clear views are never guaranteed. Decide when to leave your hut based on the route, conditions and how you feel. Waiting at the summit can be very cold. An earlier arrival is not always a better one.
Common questions
Do I need a guide?
A guide is worth considering if you are unfamiliar with mountain walking, uncertain about navigating in darkness or would rather have help coordinating the climb. Check exactly what a tour includes, as transport, hut accommodation, meals, equipment and entry arrangements are not necessarily bundled together.
Can I climb Mount Fuji in one day?
A daylight climb is possible for some well prepared hikers, but the full ascent and descent must fit your ability, the entry rules and available daylight. An overnight rush without proper rest is a different proposition and is discouraged. If the timetable only works by skipping breaks or leaving no margin, reconsider it.
Will staying in a hut guarantee a summit sunrise?
No. Resting on the mountain can help you organise the climb, but weather, altitude symptoms and your pace may still change the outcome. Book with the understanding that turning around can be the right decision.
What should I check before paying for the trip?
Confirm the route’s season dates and entry process, the hut’s booking conditions and your transport in both directions. Then add up the hiking fee, accommodation, any meals not included, equipment and travel costs. Keep the hut’s cancellation policy in mind when deciding how flexible the rest of your trip needs to be.
How should I prepare physically?
Build up with longer walks and hikes that include sustained uphill and downhill sections, wearing the footwear and carrying the pack you intend to use. This helps you judge your pace and comfort. Fitness is useful, but it does not make you immune to altitude sickness.